Easy Everyday Makeup

I am queen of spending too much time on my makeup. I can draw the process out for over an hour if given the time, and I'll love every minute of it. But sometimes I don't have over an hour and I've gotta just get something done quickly, like 20 minutes or less quickly, and I've finally gotten it down to a science.

I still use all of my basic products: foundation, concealer, highlight, etcetera. The main difference is the eyes. They're basic, but still done. What I like about the routine is that it's versatile and allows for my eyes to look a little different every time I do the look, without adding any extra time. So without further ado, here's my easy everyday makeup.

I always always, always start with my eyes, even if my eye makeup that day doesn't involve a ton of cleanup. When I'm in a hurry, I still apply eyeshadow primer and a base color, but then instead of doing some crazy eye contour, I'll choose a light color as a transition shade, which I apply with a fluffy brush to cover more ground. I also take the brush messily to my outer v. Then with a more precise brush, I apply a deeper shade in the crease and outer v. Afterwards, I take a lighter color, matter or shimmer, and with a classic eyeshadow brush, press it onto my lid, avoiding the outer v since I already have some of the transition shade there. If I want a little more, I'll take a pencil brush and run the transition shade on my bottom lid.

I take a break from the eyes as this point and apply primer and foundation all over my face. My face is always pretty routine. I use a concealer under my eyes, and set it with whatever pressed powder I have, which I then also take a fluffy brush into and apply all over my face. Then I contour, take whatever blush looks nice that day, and whatever highlight I want to use, and voila! My face is done and it's back to the eyes.

I comb through my eyebrows with a clear gel, take the shade "Activist" from the Tartelette In Bloom palette and with a flat liner brush, follow the natural growth of my eyebrows and fill them in. Then I apply a light shade as a brow highlight and an inner corner highlight, curl my lashes, and apply a couple of coats of mascara.

Done!

The look is simple, but still done enough that I don't look dead for my day ahead, and I never feel like I have to touch anything up.
Let me know what you guys do when you're in a hurry!

PRODUCTS USED
  • Anastasia Modern Renaissance palette shades "Golden Ochre" buffed through crease and outer v with a Zoeva 228 luxe crease brush, "Warm Taupe" through outer crease and outer v with Zoeva 231 luxe petit crease brush, "Primavera" placed on lid with Zoeva 227 luxe soft definer brush, "Tempera" as brow highlight and inner corner highlight using a Zoeva 325 luxe brow light brush
  • Wet n Wild Photofocus Eyeshadow Primer, applied with finger
  • Becca Velvet Blurring Primer Perfecting Base, applied with Urban Decay optical blurring brush
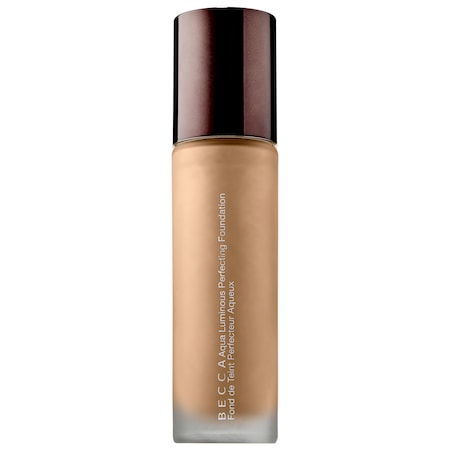
  • Becca Aqua Luminous Perfecting Foundation in shade "Fair", applied with Real Techniques sculpting brush
  • Urban Decay All Nighter Waterproof Full-Coverage Concealer in shade "Fair Neutral", buffed out using a Zoeva 110 face shape brush
  • NYX HD Finishing Powder in "Translucent", applied under eyes using a small Morphe brush (no number or name), and then all over the face using a fluffy Morphe face brush (no number or name)
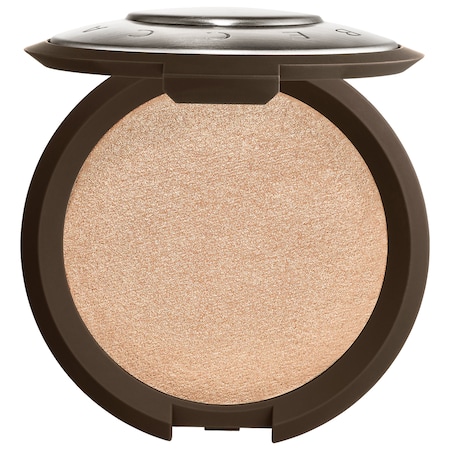
  • Nudestix Nudies All Over Face Color in shade "Illumi-Naughty, applied as highlight with ring fnger
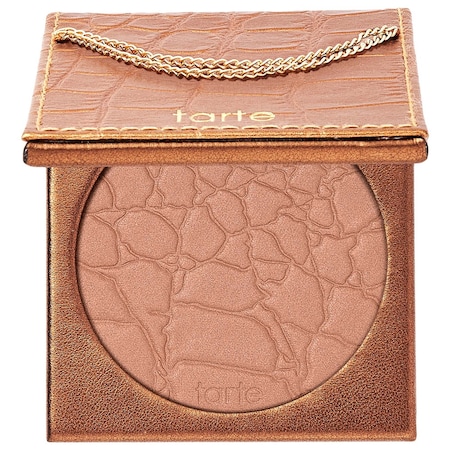
  • Tarte Amazonian Clay Bronzer in "Park Ave Princess", applied using a Smashbox powder brush (no name or number)
  • Milani Baked Blush in shade "Rosa Romantica", applied with a Zoeva 127 luxe sheer cheek brush
  • NYX Control Freak Clear Eyebrow Gel
  • Tartelette in Bloom palette's "Activist" shade to fill in brows using a Zoeva 317 wing liner brush
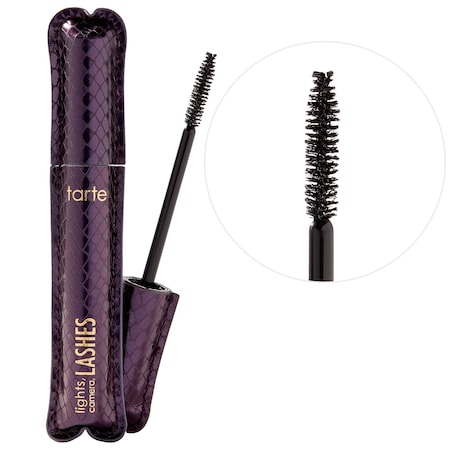
  • Tarte Lights, Camera, Lashes 4-in-1 mascarea
xxx

My Top Four Makeup Items

"Holy Grail" has never really been part of my makeup vocabulary, despite wearing tons of it every day. But recently I got to thinking about what products I love most, and I was able to pinpoint four that I keep going back to time and time again. Spoiler alert: they aren't cheap and they're not indie brands, but hey, you like what you like.

Becca Aqua Luminous Perfecting Foundation, $44
I know this foundation isn't a crowd favorite, but I love the glowy, light-coverage thing, and whenever I can't decide on a foundation, I always go back to this one. It lasts me a couple of months and I can build it up (some) if I want a little more coverage that day. Plus, since it isn't thick in consistency, it applies well with a sponge or a brush, so I can change up how it looks depending on the day. I know Becca isn't the best with shade ranges, so I'm sorry for including this one, but it's the closest I can get to a HG foundation. Forgive me and let's all hope Becca gets it together.

Becca Shimmering Skin Perfector Pressed Highlighter in "Moonstone", $38
You've probably tried this one out before, and if you haven't, you've probably heard of it. I included the shade because it's the one I go for every single time, despite the large color range, but honestly, they're all beautiful and glowy. The wear time is also quite decent and the application is flawless, wet or dry. Highly recommend.

tarte Lights, Camera, Lashes 4-in-1 Mascara, $23
Don't worry, guys, it's not all Becca--these next two are tarte (and no, neither of them are Shape Tape)! I think tarte are my favorite high-end makeup brand. I've only been disappointed with maybe two products in all of my years of makeup, and they're the first brand I really fell in love with. In fact, this mascara is the first makeup product I truly decided was ~the one~ for me. It dries out quickly, but it gives me eyelashes for a full day (because I have none otherwise), without clumping them or making me apply upwards of 10 coats. It doesn't really crumble on my eyes throughout the day and if I curl my eyelashes appropriately, this mascara really keeps them in place. I don't know what I'd do without it; my poor, naked eyelids would look horrendous!

tarte Amazonian Clay Bronzer in Park Ave Princess, $30
It doesn't matter if you buy the matte or shimmer product, as long as you buy Park Ave Princess. It's so freaking beautiful. It's the only bronzer that I don't think looks too orange or fake on me and that still blends out on my face well--my cheeks tend to get a little patchy around the contour area. I think everyone tries this bronzer at least once; I just never stopped.

xxx


BUY THE PRODUCTS


Two Easy Vegetarian Winter Meals

I'm trying really, really hard to start cooking at home. I spend so much money out on food and for literally no reason except that I'm lazy, but I've taken--if only just--to making these two quick and easy meals at home that work great for leftovers, as well as keeping two easy snack veggies on hand for quick and easy cooking.

Let's get the disclaimers out of the way. Please note that although everything I'm prepping are veggies, they aren't the healthiest meals (but they're filling and delicious, and great for the cold weather). Also, I am not a  professional or at-ease cook, so I didn't take any pictures of the process because it's messy and not very photo-friendly. Sorry!

Now on to the meals!

Eggplant Parmesan

My family is Italian, so I always grew up eating this and recently decided to brave the recipe myself. Turns out, it's beginner friendly and much quicker than I thought!

The Ingredients
-breadcrumb
-eggs
-one large eggplant
-mozzarella cheese
-tomato sauce
-olive oil

That's it! That's all you need! I use just a plain breadcrumb, but I'm sure seasoned breadcrumbs would be delicious. All you do is slice the eggplant into thick rounds, whisk about two eggs together, and dip the eggplant rounds into the egg wash. Then dip the egged rounds into the breadcrumb so that they are lightly coated.

Once coated, fry the eggplant until each side is golden brown. Immediately after, place a single layer into a glass baking pan, coat with sauce (I was lazy and used jarred) and slices of mozzarella cheese and bake at 350 degrees Fahrenheit until the cheese is melted. You're done! You made eggplant parmesan! Go you!

Stuffed Artichoke

My family eats these on Christmas, but I said screw it and started making them just because, and I'm so happy I did.

The Ingredients
-breadcrumb
-2 garlic cloves
-parsley
-parmesan cheese
-artichokes
-olive oil

My family never gives measurements, so the stuffing is a lot of trial and error. Just go with what tastes good to you. The stuffing should be cheesy and you should be able to taste the garlic, but it shouldn't be overwhelming. I've been making two artichokes at a time, and here's what I've done with the stuffing for two:

Add the breadcrumb (about a cup), two garlic cloves cut into fourths, about 1/4 cup parmesan, about 2 tablespoons parsley, and then about 1/4 cup olive oil into a food processor.--it is important to add the olive oil last. Blend them together until combined and until the garlic is minced. The mixture shouldn't be wet, but it should have some moisture from the oil and therefore, hold a loose shape when you press on it.

Cut the stems off of the artichokes, leaving enough stem to allow the artichoke to stand upright in a saucepan. Cut the tips off, as well, so that you can press the artichokes face down, allowing the leaves to spread so that you can stuff the top.

While preparing the stuffing and the artichokes, you should boil water in the saucepan--just enough water to cover the stem and the first layer of the artichoke leaves.

Stuff the artichokes with the mixture, starting at the top and allowing the mixture to fall into the open leaves. You might have to pull some back to properly stuff them. Cap the artichokes with any remaining mixture and add them to the boiling water. It's important to make sure they stand upright. Turn the water to a simmer, cover the pan, and allow the artichokes to cook until you can easily pull off some of the bottom leaves (anywhere from 15 minutes on a gas stove-top to about 45 on an electric). Just make sure to check the water so that it doesn't simmer away. Add more throughout if you need to. That's it! I know this one sounds complicated, but once you do it, it kind of clicks and makes sense and becomes quick and painless.


Bonus!
I like to keep brussel sprouts and spinach on hand for quick sides. I'll saute the spinach with olive oil and thinly sliced garlic and I'll bake the brussel sprouts on 415 degrees Fahrenheit with olive oil, salt, and pepper until they're crispy. They both heat up well and make my veggie chicken nugget meals seem a little healthier.

Let me know if you guys make any of these dishes!

xxx

Goals For the New Year

I don't believe in new year's resolutions. Resolutions are too fleeting; they're big changes that tend to be overwhelming and unappealing once the hype of the new year has come and gone. Personally, I try to make goals, and yes, there is a difference. A resolution is a decision to do something that is meant to be concrete; a goal is less daunting: it is an aspiration, something to be obtained, but not strictly. Or at least that's how I see all of this.

My goals are usually small and decently mundane as to make them obtainable and doable. I don't tell myself I'm going to eat better or go to the gym because the truth is, I know myself much too well and I'll never do either of those for an extended amount of time. Instead, I give myself a full year to accomplish three, four, or five different things that I strive to do in my life. That's the trick behind it all: you have to be passionate and involved in your goals if you want to accomplish anything in life, and my goals are always tiny things I've found joy in before rather than new things I know I won't have fun with. So without further ado, and in no particular order, here are my goals for 2018.
  • Take a photography course
  • Take an international trip and a domestic one
  • Read more books
  • Find new music
  • Start cooking meals
Let me know some of your goals for the new year! I'm rooting for you to reach them!

xxx

A Polaroid Printer!?

For my birthday this year, my boyfriend bought me the Polaroid Zip Instant Photoprinter and I am OBSESSED with it!

I've wanted the printer for a few years now, but have never been able to justify spending $100 on it, so when I opened the box, I was so, so, so happy! Before I go any further, let me just say that this post is not sponsored (please, I wish I was big enough to be sponsored by Polaroid)--I'm just honestly so in love with this thing and I want to share it with everyone.

The printer itself came with enough paper for 10 pictures and then I was gifted another 30 sheets ($14.98 on Amazon) and so far I haven't gone through more than about 15 pictures. The printer itself was easy to figure out: I charged it, put a 10 pack of paper in, turned it on, and started printing! It runs off Bluetooth, which my phone had no problem syncing to, and the only time I've had an issue thus far is when I've tried to print any pictures from Facebook (weird, I know).
The paper itself is adhesive, so you can use the pictures you print as stickers if you want to, and although I haven't found myself making use of this information, I love the idea behind it! You can also download the free app, Polaroid Snap Touch, where you can add borders to your pictures, just in case you want that traditional Polaroid white border touch, edits, and other personalized touches on your prints. I've only played with the app a few times, but it's been pretty fun, not gonna lie.

Let me know if you end up checking this product out for yourself. I'm personally loving having physical prints of my favorite pictures in just minutes.

xxx


Professional Blog Designs by pipdig